
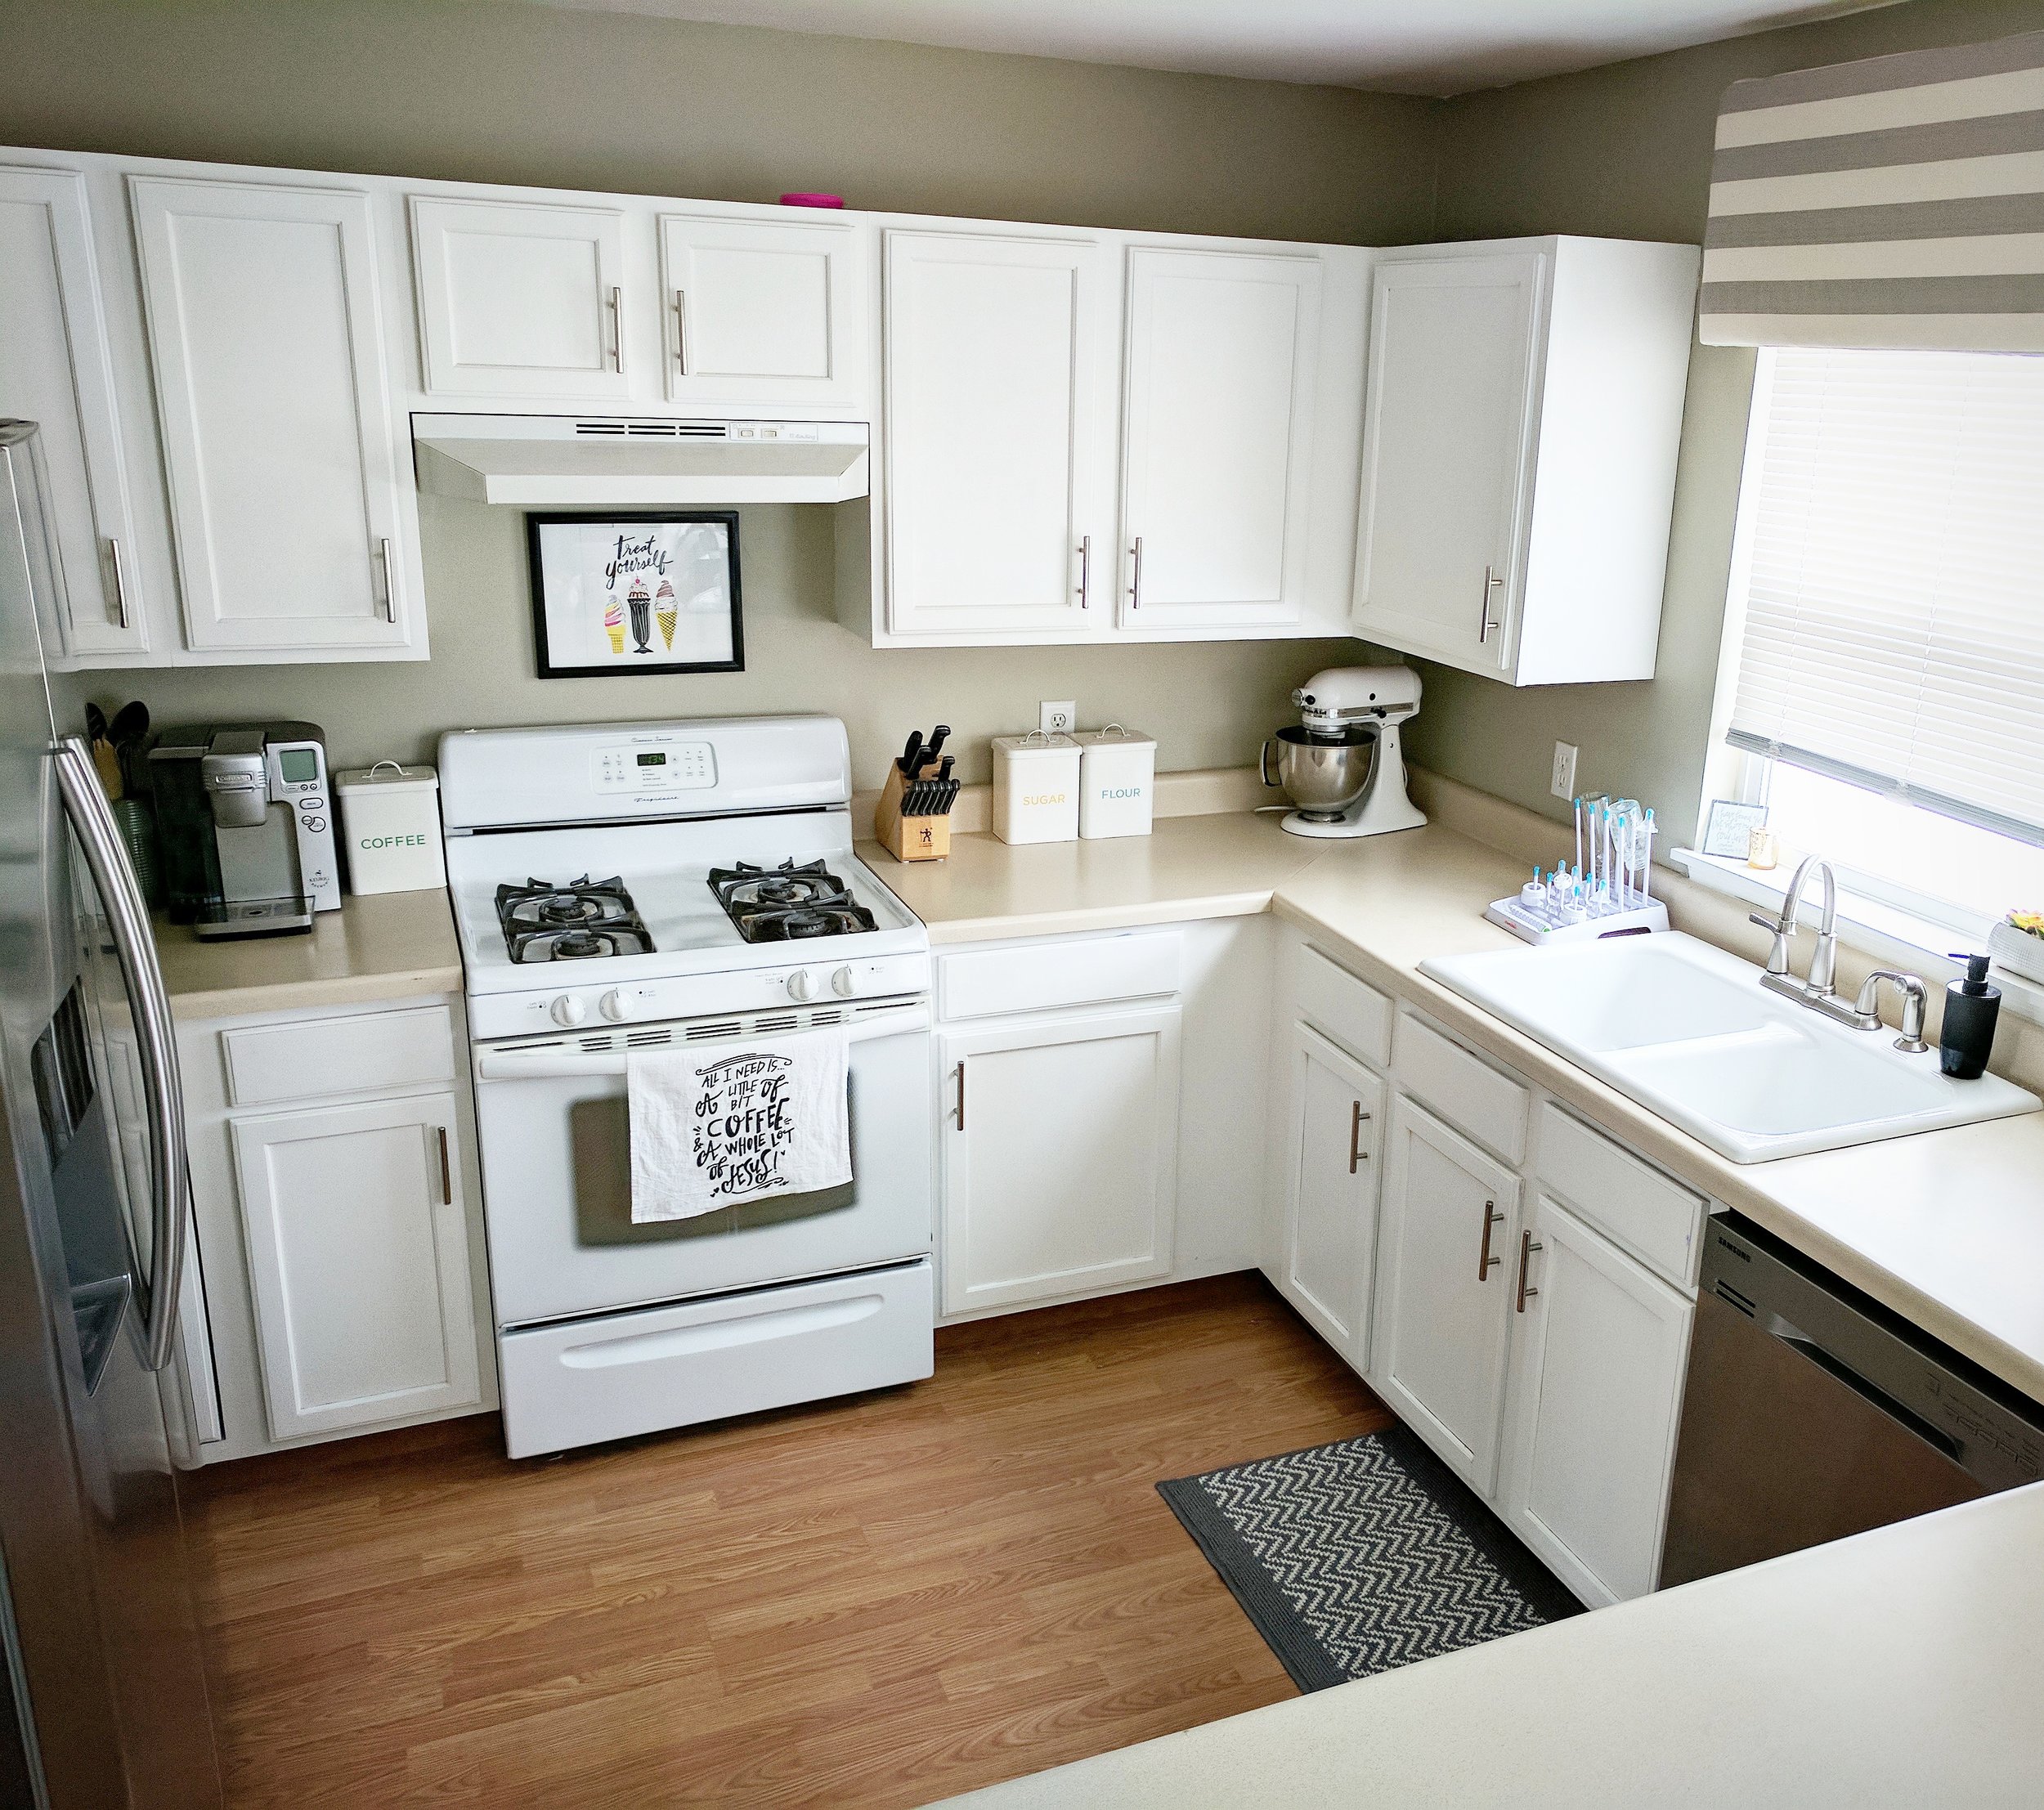
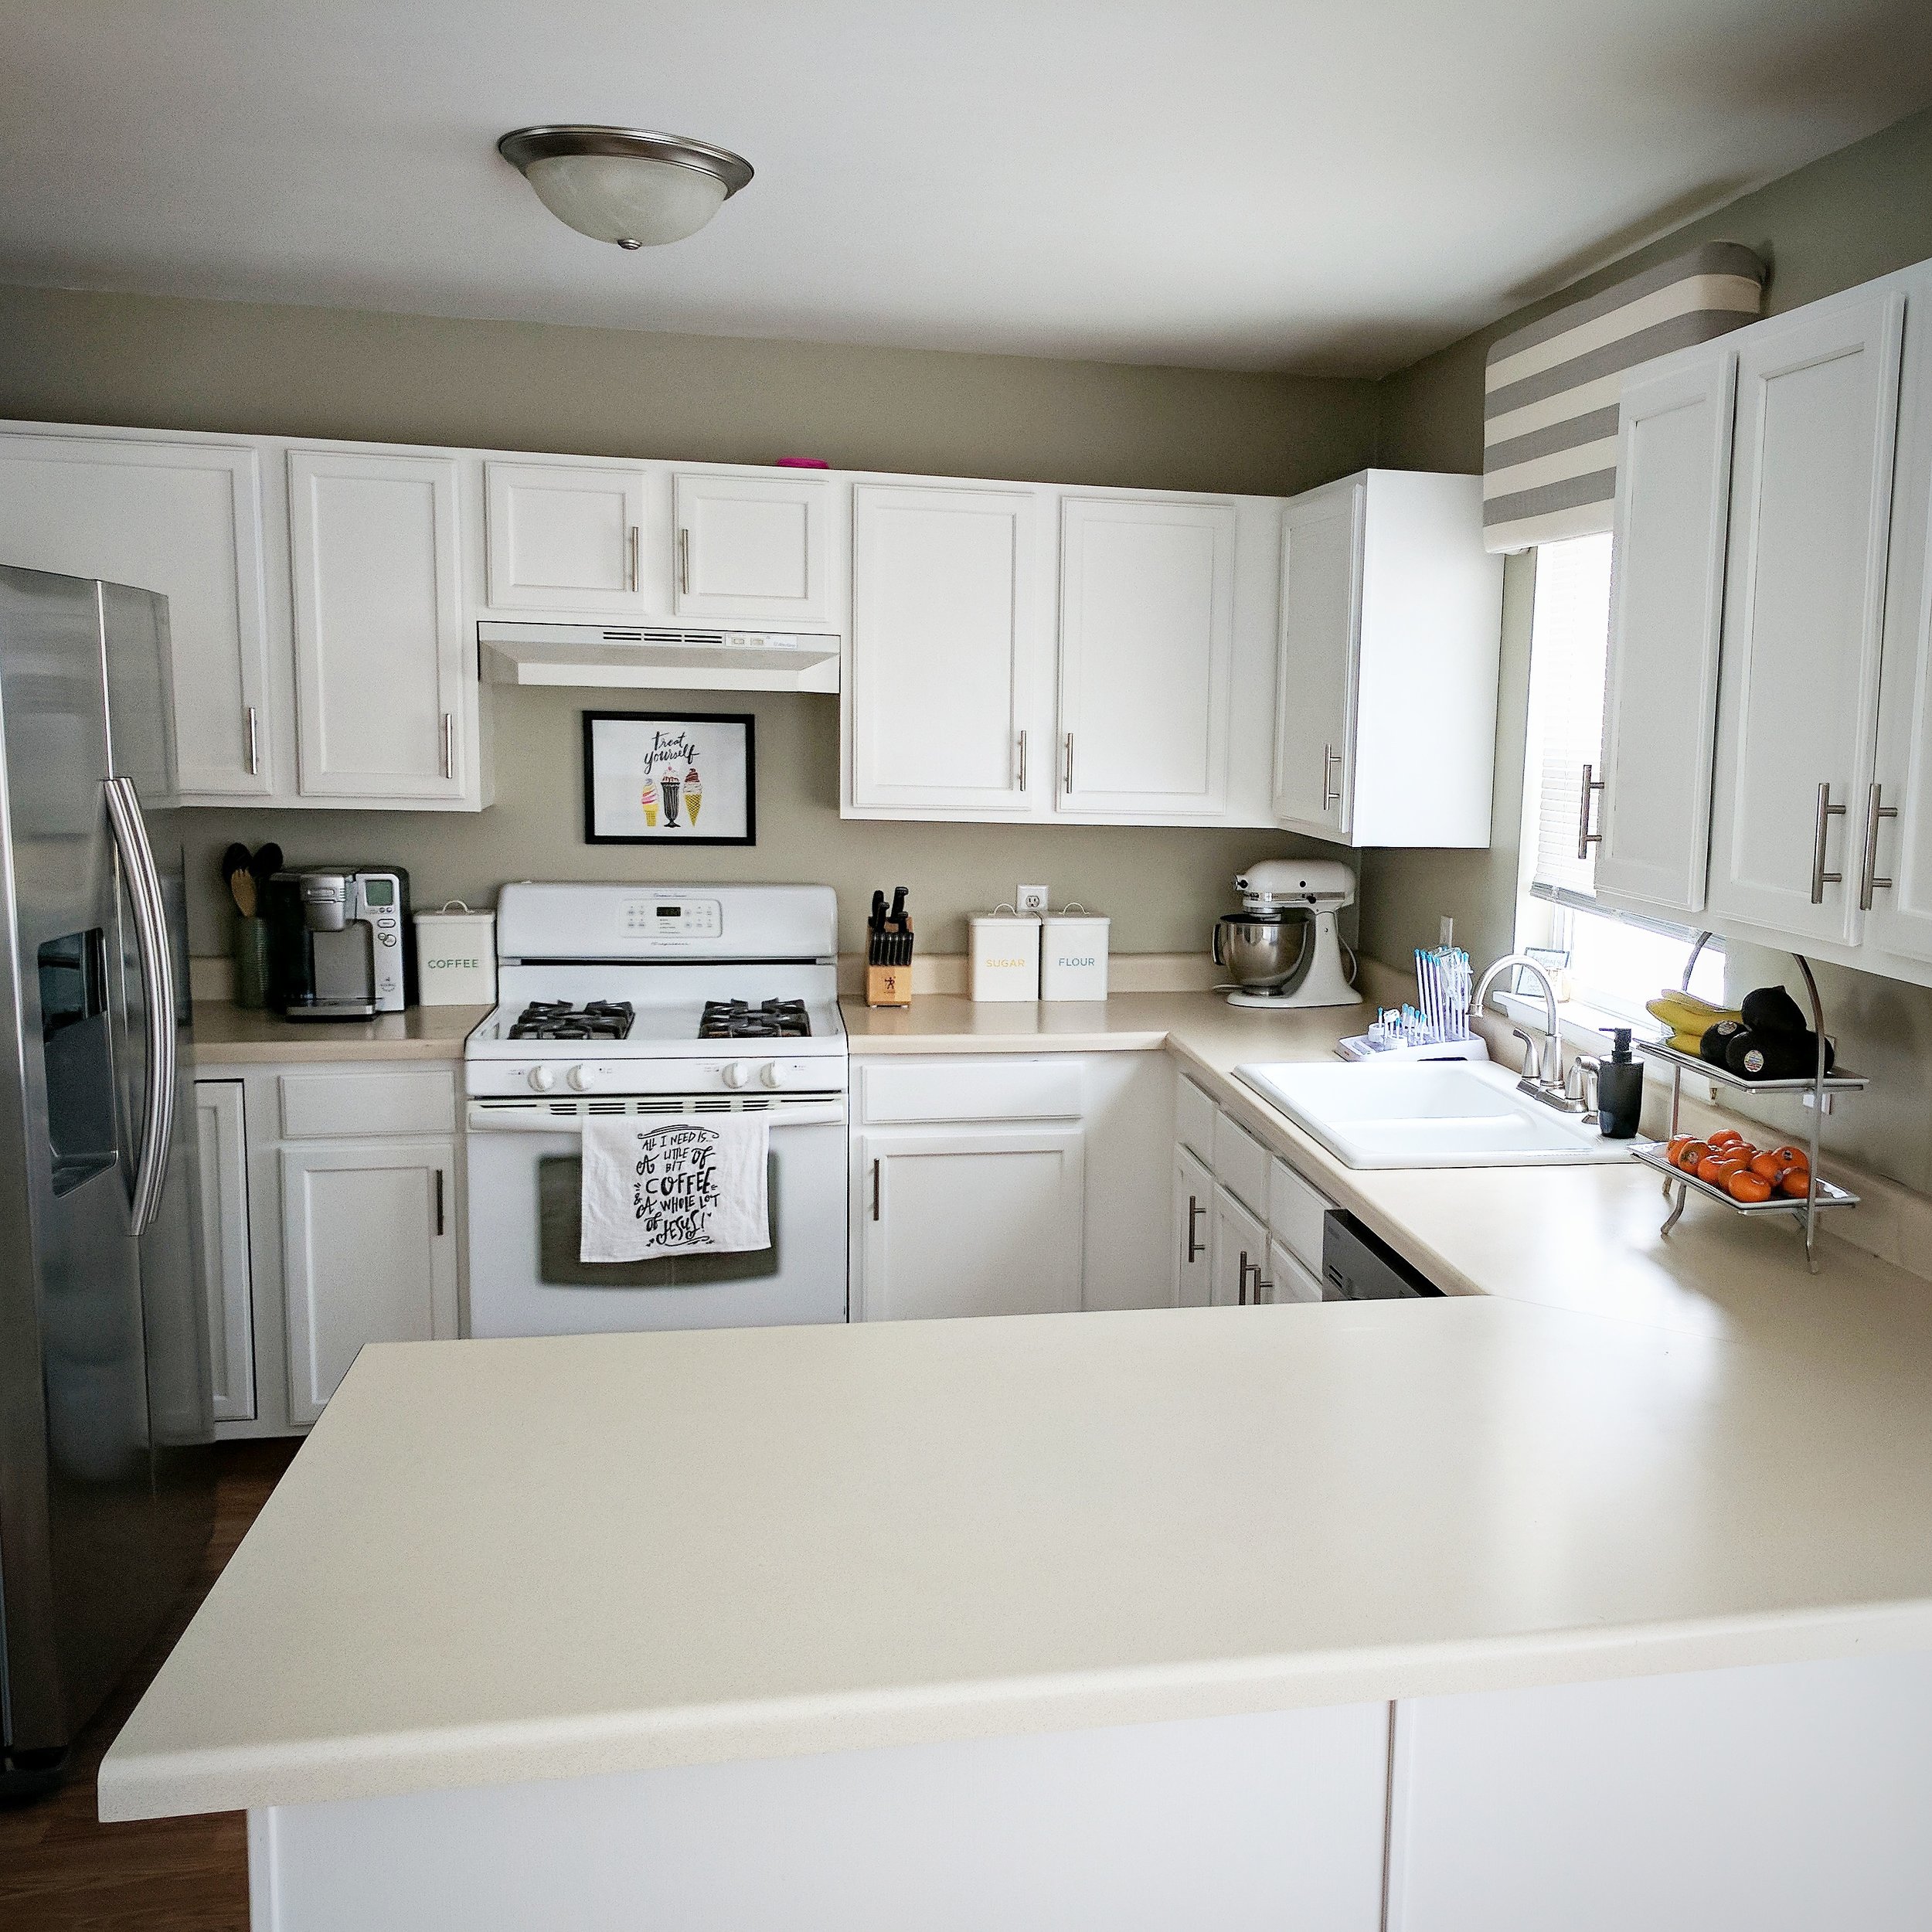
Kitchen Update
When we moved into our house almost three years ago, the first thing I wanted to update was the kitchen cabinets. I was seven months pregnant with Miss Emma Grace and my sweet husband still needed some convincing so I decided to focus on other things, like growing a human. Eight months after we moved in and without any home improvement project experience at all, I decided to try and paint them! I sat down with John and his dad and we talked through the process and what I would need. I also spent a lot of time talking with the sweet man who worked at the local hardware store. It wasn't something that came naturally to me at first, but I really got the hang of it after awhile! If you're hesitant to take on a big project like this because you don't have the experience or time, I'm here to tell you that if I can do it... you can too!

Left: July 2014, Right: March 2017
Supplies:
- White China Bristle Angle Sash brush
- Liquid Sander
- Oil-based Spray Paint (we used roughly 12-15 cans)
- Oil-based Primer
- Oil-based Paint
- Paint Thinner
- Painter's Tape unless you're really skilled ;)
*All paint used in this project is oil-based. When painting over varnish or stain, using a water-based paint instead of an oil-based will lead to chemicals seeping through, turning white paint yellow over time.
PREP
- I started by washing all the doors and cabinet boxes with hot, soapy water.
- We removed the hinges to take the doors off as well as removing the drawer fronts.
- I used a liquid sander and an old shirt to thin the varnish on all the doors, drawers and cabinet boxes. Using a paper towel or a rag with the liquid sander may leave a residue on the cabinets that would be visible and bumpy after painting so an old shirt worked best. In our case, the liquid sander proved to be enough to help our paint stick without needing to sand anything.
- Finally, I used a permanent marker to number the cabinets (try not to paint over this) and sorted the hardware into bags so I would know exactly where they went!
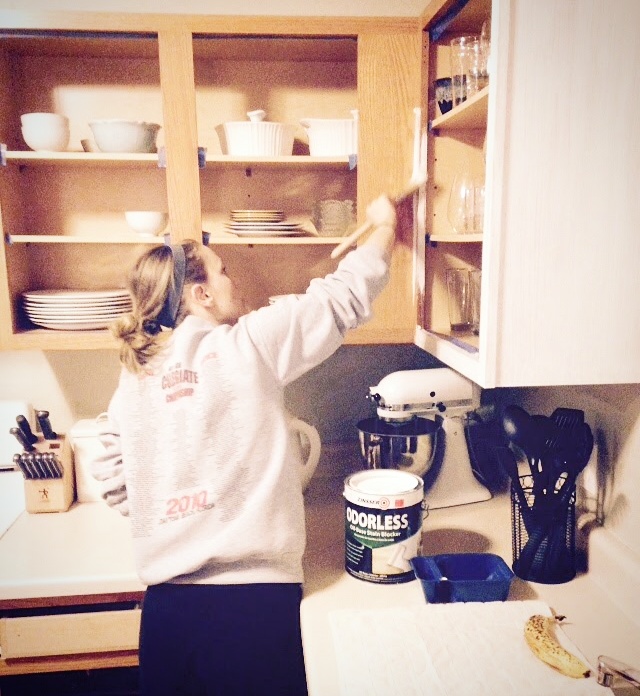
PRIME
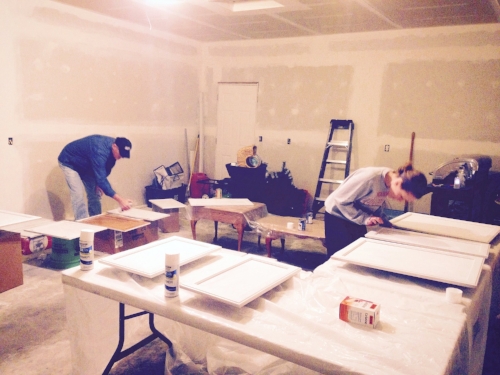
- I used an oil-based spray paint primer on the cabinet doors and drawer fronts. I moved them into our garage to prime them and kept the garage door open a little to circulate air.
- We covered the tables with drop cloths and set each door and drawer front on box or canned good to raise it away from the table. Otherwise, the paint will dry and the doors will stick to the table. I did two coats on each side of all the doors and drawer fronts.
- I used an oil-based primer with the Wooster Pro brush on the cabinet boxes inside. Before I primed them, I put painter's tape along the inside of the cabinets. I felt like I only needed one coat of primer for these.
PAINT
- I painted everything with Benjamin Moore's Satin Impervo Alkyd Low Lustre Paint in the color 235. This is an oil-based paint and the sweet man at the hardware store hooked me up with this. Benjamin Moore paint is not sold everywhere but this paint was pretty fantastic.
- I used my same Wooster Pro brush to paint as well.
- Everything took 2-3 coats of paint, this was the longest part of the project!
CLEAN
- Oil-based paint will not wash off your brush (or you) with water. You will need a basic paint thinner. My father-in-law taught me trick for this! You can pour paint thinner in a tupperware container and push your brush down in it to remove the paint. Afterward, you can pour the used paint thinner into an old milk jug and over time the paint and paint thinner will separate. That way you can reuse the paint thinner!
- Otherwise, if you know you're going to continue to paint soon, you can wrap your brush in plastic wrap and stick it in the freezer.

FINAL THOUGHTS
- For this project specifically, I can't say enough about how glad I am that I used oil-based paint! When I was spray painting or even after the final coat of paint, I was able to sand it down and repaint. Also, because the cabinets and drawers are constantly being opened and closed, the oil-based paint is perfect because it won't peel.
- We got our hardware at Menard's! They usually have great mail-in rebate deals going on, and we ended up getting money back. We are going to do the same handles for the drawers but I wanted to wait on those. They just make it easier for little hands to open!
- We saved money for the entire year after painting the cabinets to get a new refrigerator and dish washer. We got them on a great black Friday deal last year!
- Just this past Christmas, we asked for gift cards to home improvement stores and were able to get a new sink and faucet.


We spend so much time in our kitchen and are so pleased with the progress. It has been so fun for John and I to do these projects together and watch our family and house change. Some of our favorite memories have been fixing up our home together, no matter how long it takes!
